Thunderbird is not considered a supported application by the Connect folks so all support is "best effort"
gContactSync is a third part add on and is not always updated consistently.
Via gContactSync
You will need to go to the Thunderbird Menu and scroll to Add-ons
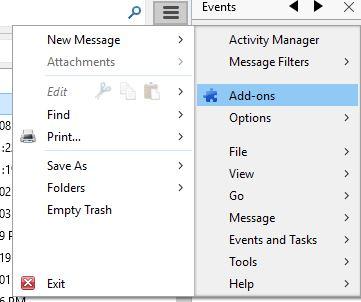
From there, you will want to search for gContactSync by entering it in the Search Add-ons box in the upper right hand corner:
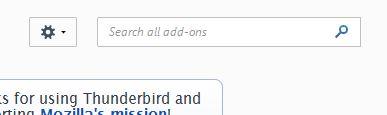
Hit Enter and it will list off Add-ons, the one you will want will look like this:

Click on the Install button on the right of this. In a moment, you will see some text on this bar saying you will need to restart Thunderbird with a Restart now link next to it:

Click on Restart now and let Thunderbird restart. When it comes back up, it will show the following window:
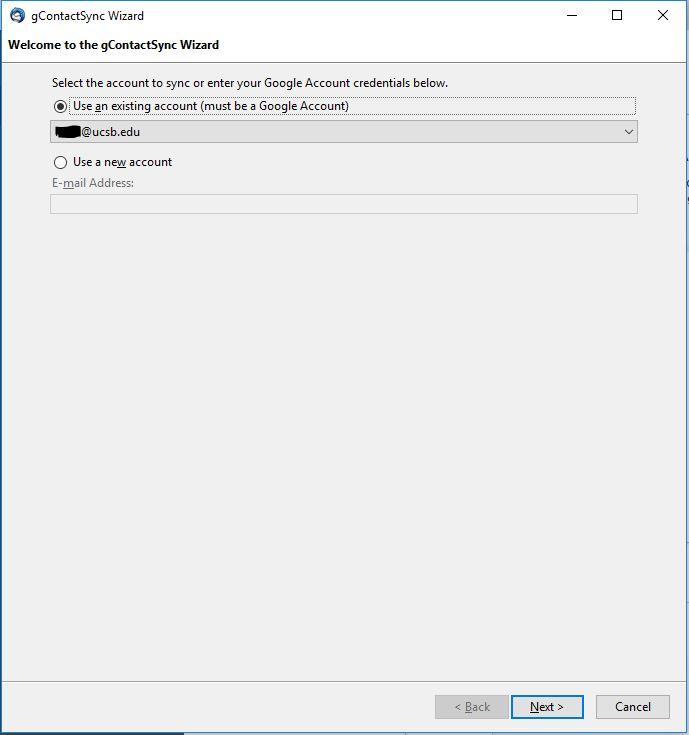
Confirm the account it should sync with, (IE: Your UCSB Connect Email) and click Next.
This will bring up a Google Authentication window:
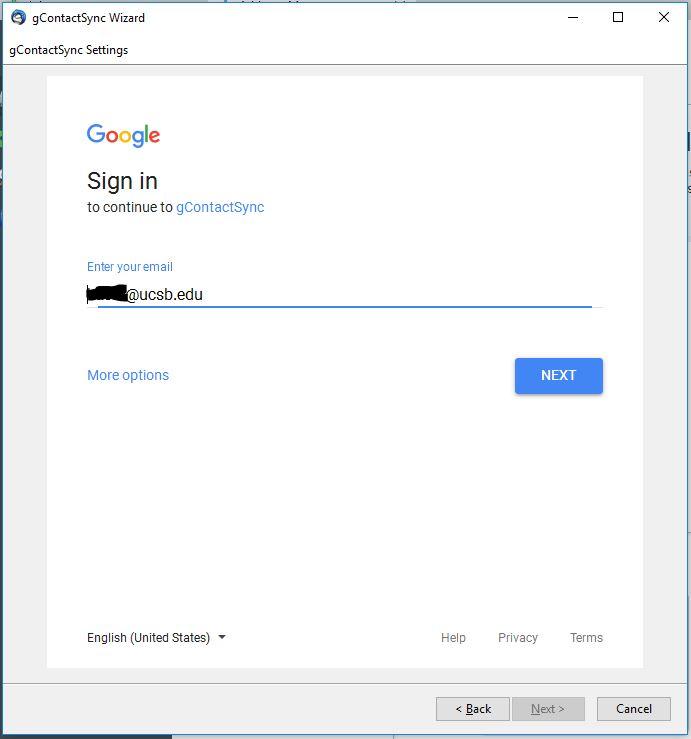
Enter your UCSB Connect Email and click on the Next button.
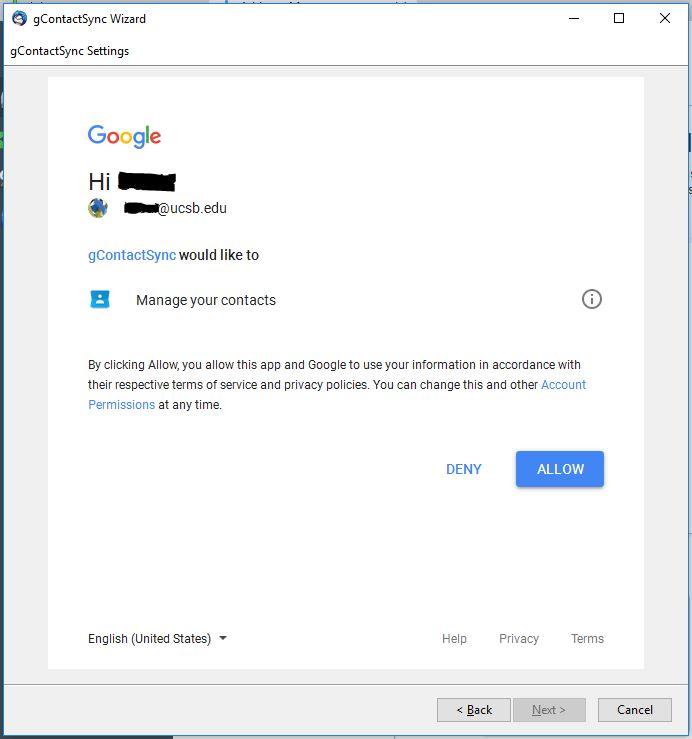
Next, it will want to confirm that you wish to allow gContactSync to manage your contacts. Click on Allow.
Next, is just a confirmation of which Address book you want to synchronize on Thunderbird with which Groups and Contacts on your UCSB Connect Account and how you want the Sync to work.
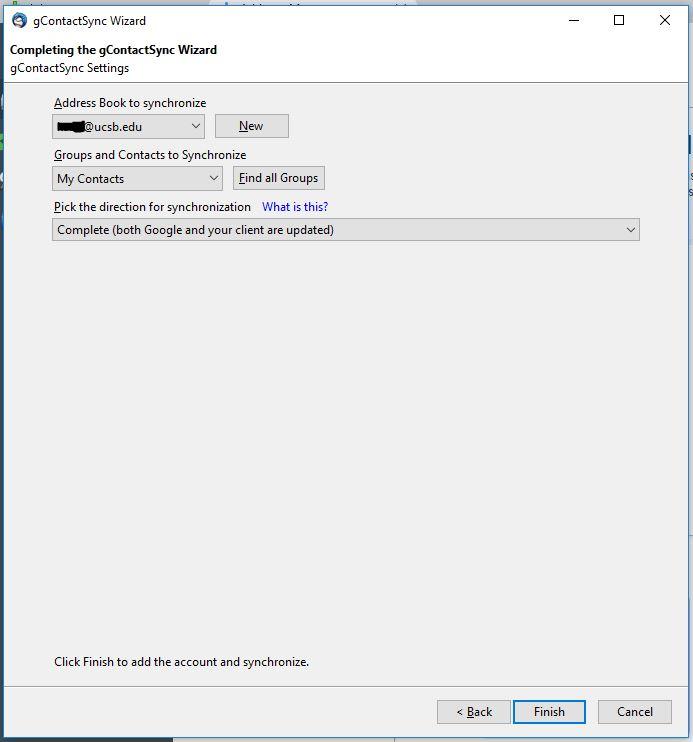
Once that has been decided, just click on Finish to complete the setup.
UCSB Connect Contacts does not handle Thunderbird Lists (Group sending)
By default, the gContactSync system will auto sync Contacts every 2 hours. If you wish to change this behavior, you will need to go into Address Book, go under gContactSync, Preferences and change the Synchronize Interval (minutes) from 120 to a lower or higher number. We recommend no lower than 15 minutes.
You can use the Sync option to sync your contacts right that moment as another option.
Via UCSB LDAP as of Fall 2021
please note that these instructions only work from on campus IPs
On the Thunderbird window
Open Address Book window by
- Clicking the Address Book icon, OR,
- Pulling down Tools menu and selecting Address Book
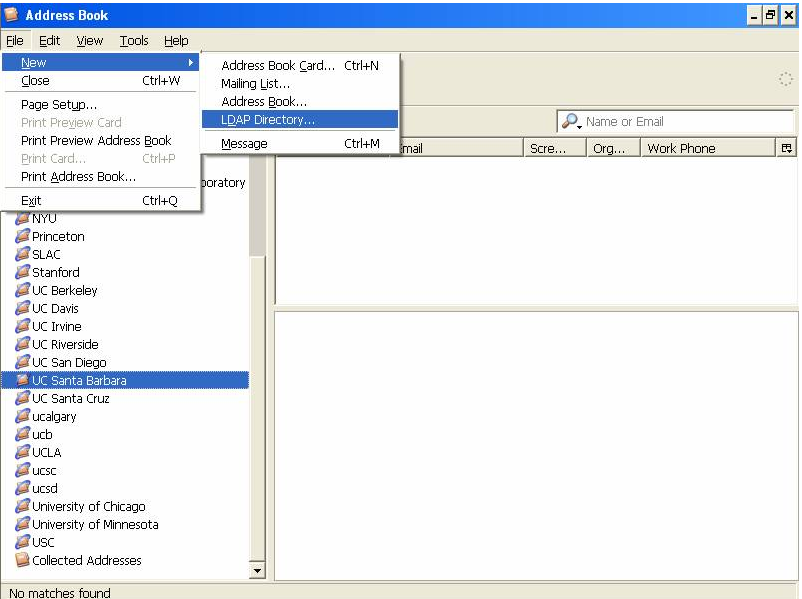
Open the Directory Server Properties window by
Pulling down the File menu, select New menu, select LDAP Directory
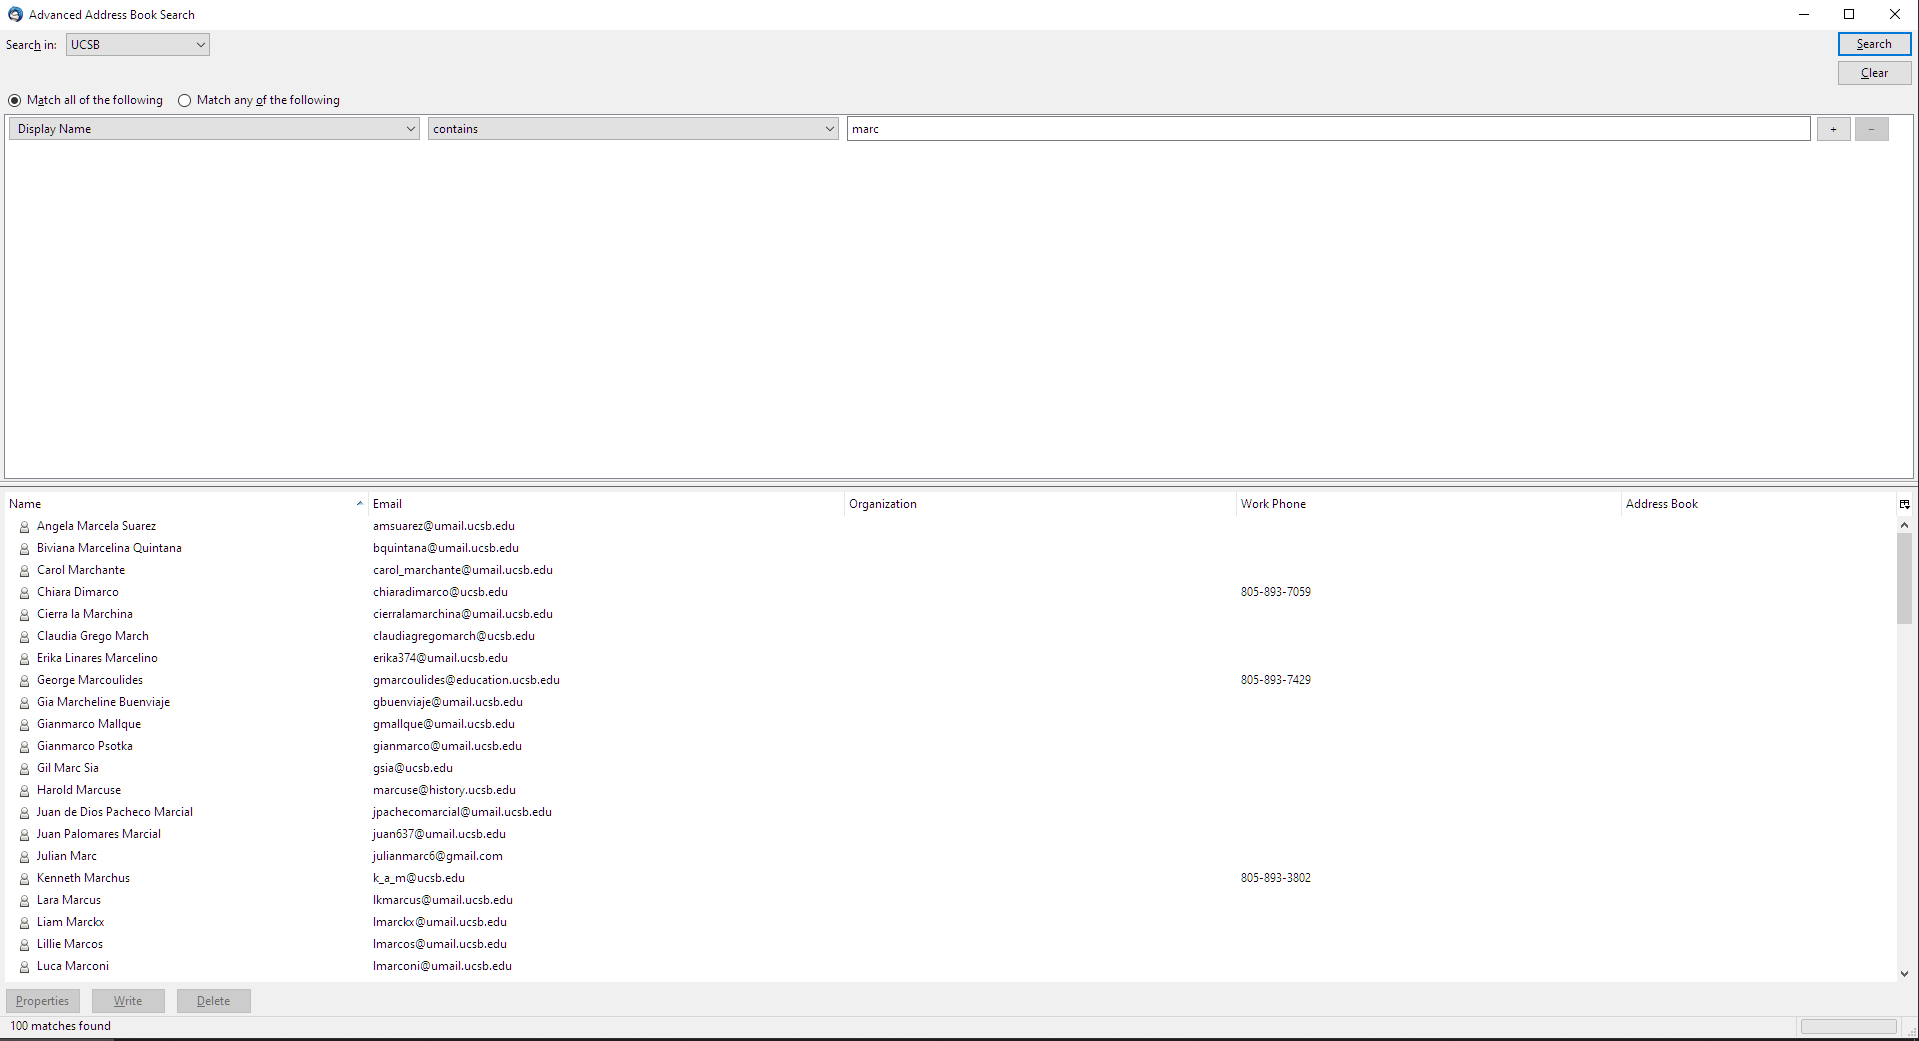
However this only works via advanced search. simple search in the compose window returns blank addresses or errors
Generic instructions taken from http://hep.ucsb.edu/ldap/:
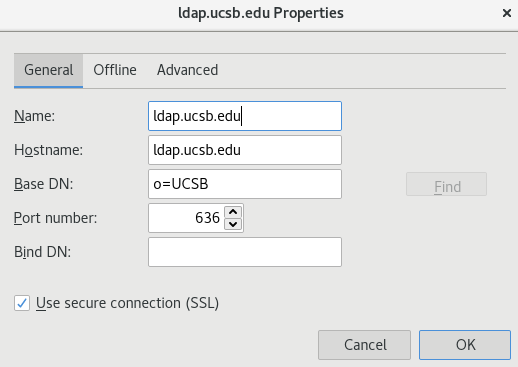
Input
Name: [anything]
Hostname: [look at the list below]
Base DN: [look at the list below]
Port number: 389 (default)
Bind DN: [blank]
Institutions | Hostname | Base DN |
Argonne | ldap.anl.gov | o=Argonne National Laboratory, c=US |
Brookhaven | ldap.bnl.gov | o=Brookhaven National Laboratory, c=US |
Case Western Reserve | ldap.case.edu | ou=People,o=cwru.edu,o=isp |
CERN | ldap.cern.ch | o=cern,c=ch |
Columbia | ldap.columbia.edu | |
Cornell | directory.cornell.edu | ou=People,o=Cornell University,c=US |
FNAL | ldap.fnal.gov | o=fnal |
Harvard | phonebook.harvard.edu | o=Harvard University, c=US |
Lawrence Livermore | ldap.llnl.gov | o=Lawrence Livermore National Laboratory, c=US |
MIT | ldap.mit.edu | dc=mit,dc=edu |
NYU | ldap.nyu.edu | o=New York University,st=New York,c=US |
Princeton | ldap.princeton.edu | o=Princeton University,c=US |
SLAC | ldap.slac.stanford.edu | |
Stanford | ldap.stanford.edu | cn=people,dc=stanford,dc=edu |
UC Berkeley | ldap.berkeley.edu | ou=people,dc=berkeley,dc=edu |
UC Davis | ldap.ucdavis.edu | ou=People,dc=ucdavis,dc=edu |
UC Irvine | ldap.service.uci.edu | ou=University of California Irvine,o=University of California,c=US |
UC Riverside | ldap.ucr.edu | ou=persons,dc=ucr,dc=edu |
UC San Diego | ldap.ucsd.edu | o=ucsd |
UC Santa Barbara | ldap.ucsb.edu | o=ucsb |
UC Santa Cruz | ldap.ucsc.edu | o=ucsc |
U of Calgary | directory.ucalgary.ca | o=ucalgary.ca |
UCLA | ldap.ucla.edu | ou=person,dc=ldap,dc=ucla,dc=edu |
U of Chicago | ldap.uchicago.edu | |
U of Minnesota | ldap.umn.edu | o=University of Minnesota, c=US |
USC | ldap.usc.edu | o=usc.edu |
Via Contacts Apps for Various OS
please see https://support.google.com/contacts/answer/2753077 for the latest version of the below
On a Mac computer
- On your Mac computer, open System Preferences.
- Click Internet Accounts.
- Click Google.
Note: To use a different account, in the bottom left, click AddGoogle.
- Enter your email address and password. Click Next.
- Check Contacts.
- Click Done.
On a Windows 10 computer
- On your Windows computer, open Settings.
- Click Accounts
- Enter your email address and password.
- Review the permissions, then click Allow.
- Click Done.
Related Articles