Configuring Outlook (PC) to use UCSB Connect
This is a quick guide to setup Outlook (PC) to UCSB Connect for Mail, Contacts and Calendar.
First, you will want to download the Google Apps Sync software for Windows from:
https://tools.google.com/dlpage/gappssync
Install the Google Apps Sync program
Referring to instructions from http://www.connect.ucsb.edu/usage/google-apps/microsoft-outlook, once it is installed, you will need to run it.
It will request your UCSB Connect (Google) Email address and password.
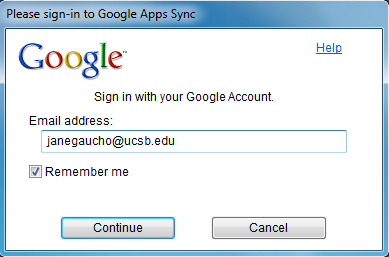
Be sure to check the Remember me here
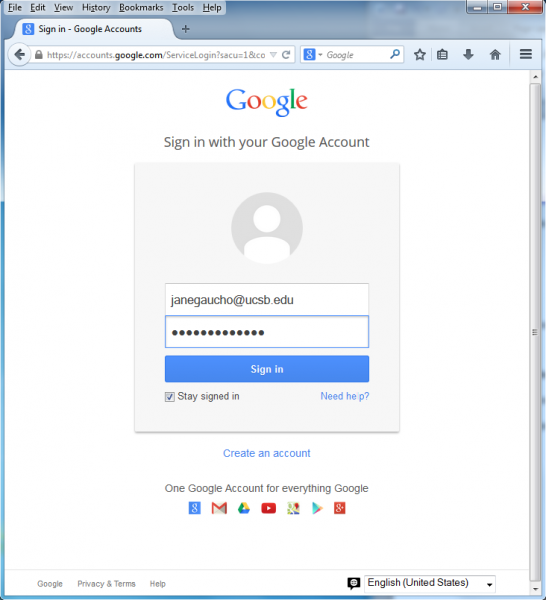
The Google Apps Sync will then open up a browser to log into your UCSB Connect Account through Google:
Once logged it, it will want to confirm the Google Sync Connection allowances:
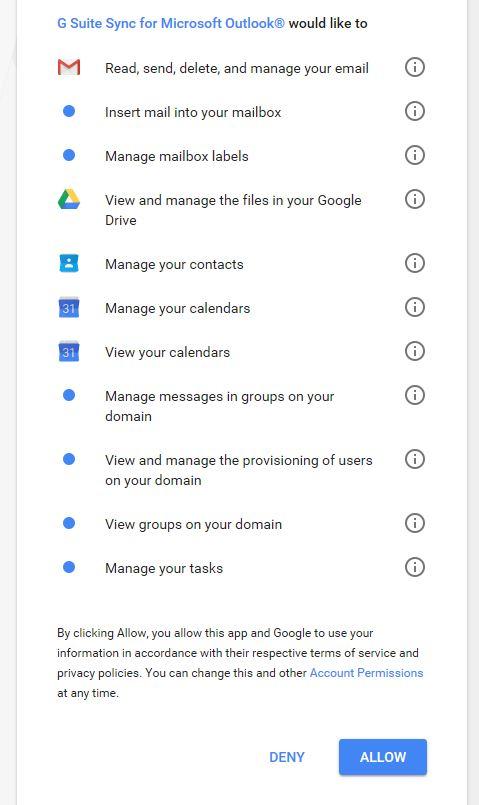
Click on Allow to do so.
Next, we want to create the profile, for the most part we want nothing checked option wise as depicted below…
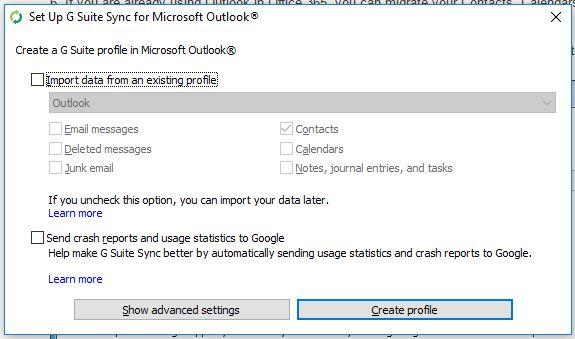
Click on Create profile.
You should then see the following window:
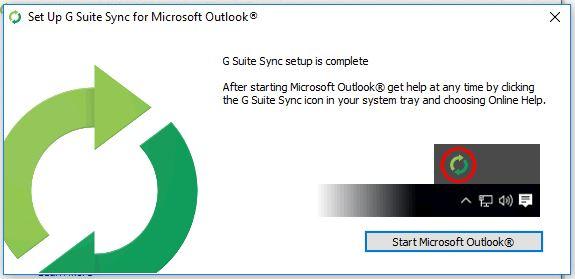
Click on the Start Microsoft Outlook button.
When Outlook starts, if it asks which profile you wish to use, Make sure it says G Suite in the profile. You will also want to click on Options>> and then click on the box next to Set as default profile so Outlook will start with this profile. Then hit Ok.
This will then start syncing your Contacts, Calendar and Mail with Outlook.
If this is the first time you have set it up or you have not used Outlook for a long period of time, the Syncing will take a couple of minutes, depending on how much it has to catch up on.
In your system tray (Lower Right hand corner), you should see two green arrows in a circle pattern:
That should be up for Outlook to properly sync mail, contacts and calendars with UCSB Connect Account.
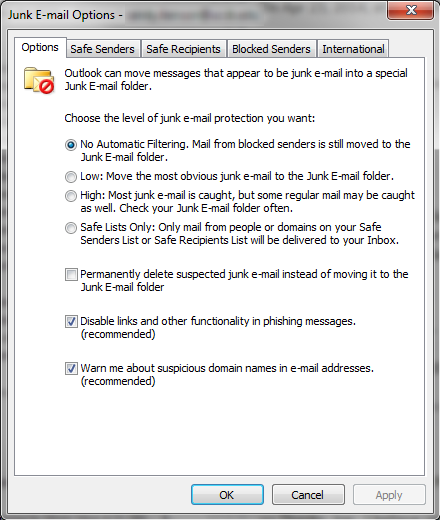
As a just in case, it is recommended to disable Junk Filtering on Outlook as this should be handled by Gmail.
For further information, you can refer to UCSB Connect Support page here:
http://www.connect.ucsb.edu/usage/google-apps
Related Articles