Configuring Windows 10 Mail and Calendar to use UCSB Connect
This is a quick guide to setup the Windows 10 Mail, Calendar, and People Apps to UCSB Connect for Mail and Calendaring.
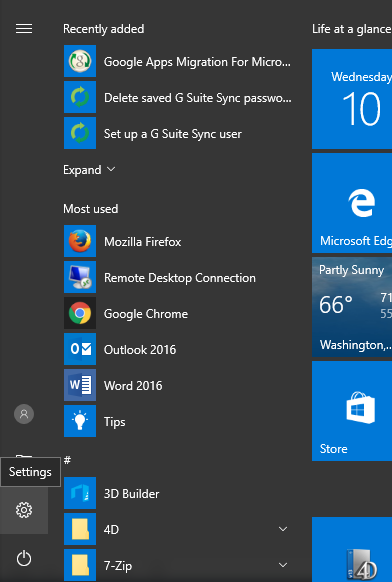
First, you will want to pull up Windows 10 Settings by going to the Start Menu…

Then clicking on the Gear Icon which should show Settings
This will pull up the Windows 10 Settings window
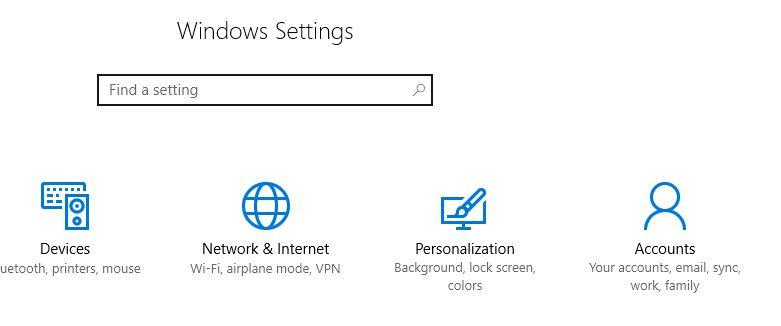
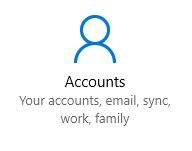
We will want to click on the Accounts icon to pull up your Account Settings
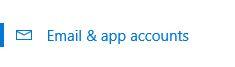
We will want to click on the Email & app accounts on the left side of the Account Settings window.

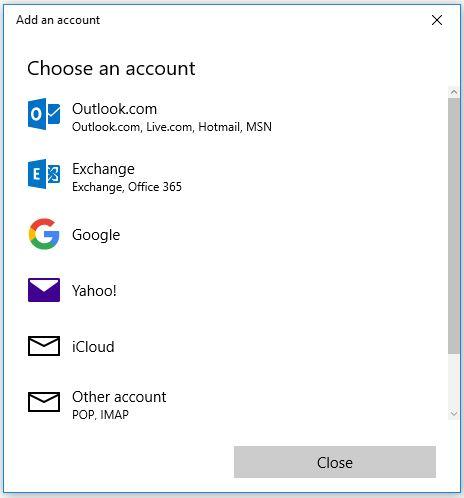
We will then see the Add an account window, which we will want to choose Google…
You will get the Google Sign In, this is where you will put in your UCSB Connect Email address in.
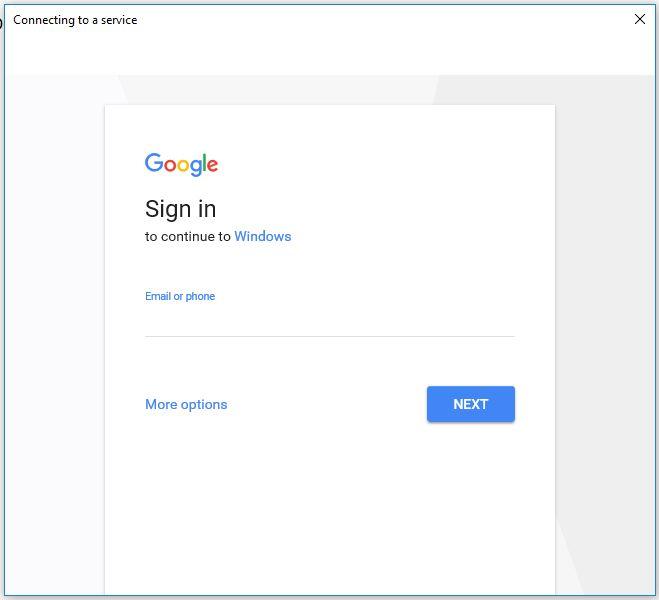
It will then ask for your password for your UCSB Connect Email.
Once that it is in, it will show you the following window…
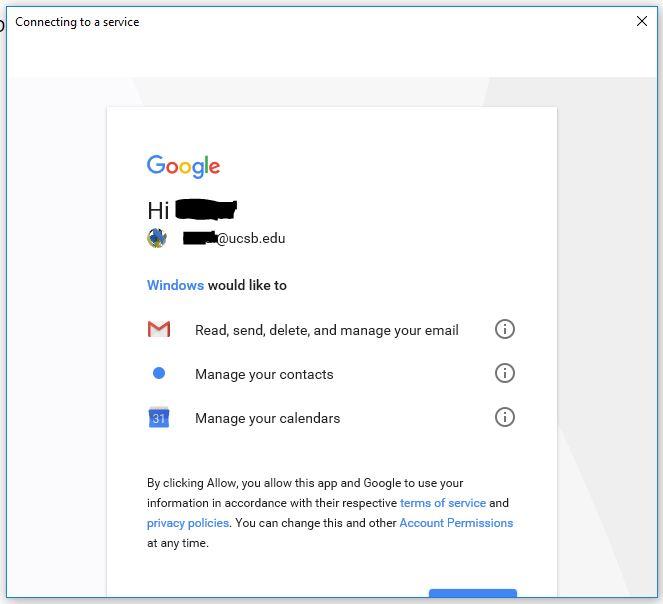
Scroll down and click on Allow.
Next, it will ask you for the Name you will be sending under the account…
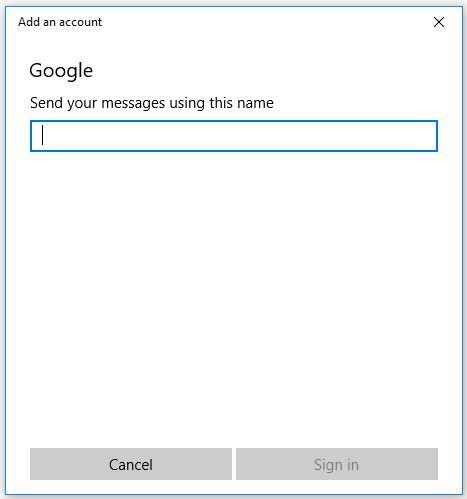
Put in your name and then click Sign in to complete the setup.
Note
The Windows 10 Mail, People and Calendar Apps do not do auto complete for the UCSB Connect Campus Directory, only those who are in the People (Contacts) that is synced with your UCSB Connect Account’s Contacts.
It would be prudent for you to have your most commonly contacted emails added to the People app, saved to the Gmail Account when adding them in the People app so it is synced with your UCSB Connect Account’s Contacts.
By default, the Windows 10 Apps are set to sync every 2 hours. If you wish to change this behavior, click on the Gear symbol, click on Manage Accounts, and then on your UCSB Connect account.
From there, click on Change mailbox sync settings and change the settings based on what you wish synced and how often. When you are ready, click on Done to save the settings and then click on Save to save the changes.
If you wish to force a sync manually, go into the Mail app and click on this button:
Related Articles
-
I get 'Critical Security Alert' email from Google (ECI Public Knowledgebase)
-
-
-
How do I log into my Engineering email? (ECI Public Knowledgebase)
-
How do I find out what my email address? (ECI Public Knowledgebase)
-
How to set an Auto-Reply for an E-Mail Address. (ECI Public Knowledgebase)
-
IPTable - Configuration Examples (ECI Public Knowledgebase)
-
I am not getting mail from the mailing list. (ECI Public Knowledgebase)
-
-
My Engineering Email Forwarding isn't working (ECI Public Knowledgebase)
-
-
-
Problems with the Projector/Screen... (ECI Public Knowledgebase)
-
-